Taking Home Network Performance and Control To Another Level

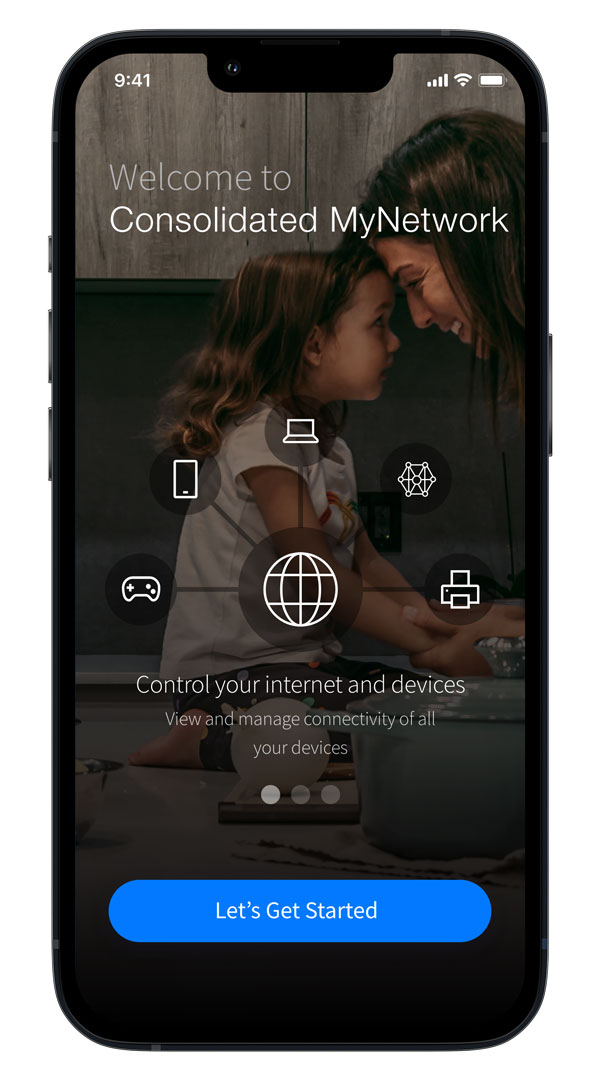
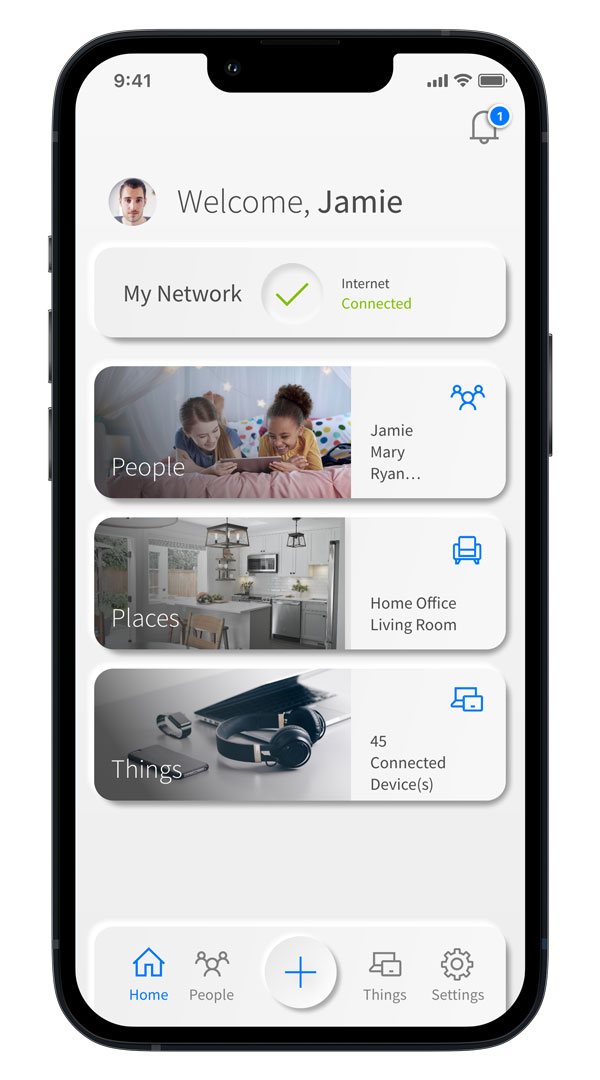
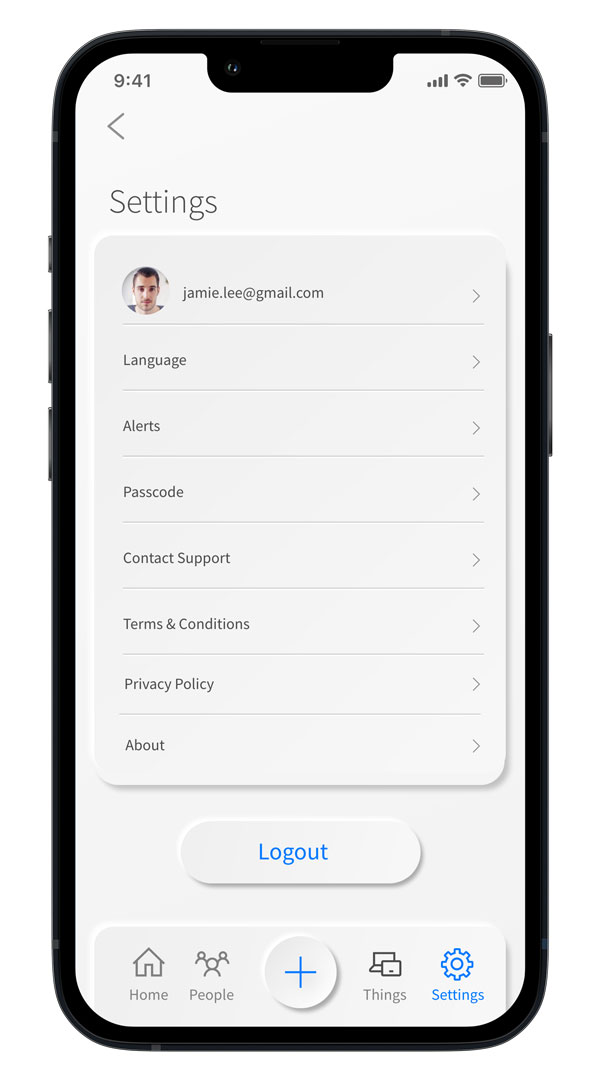
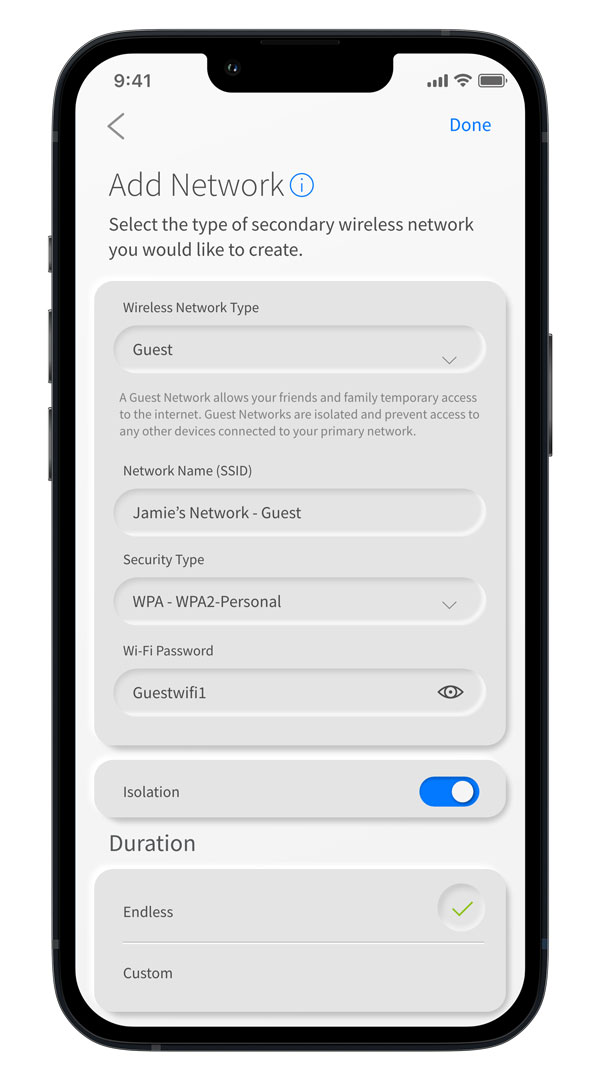
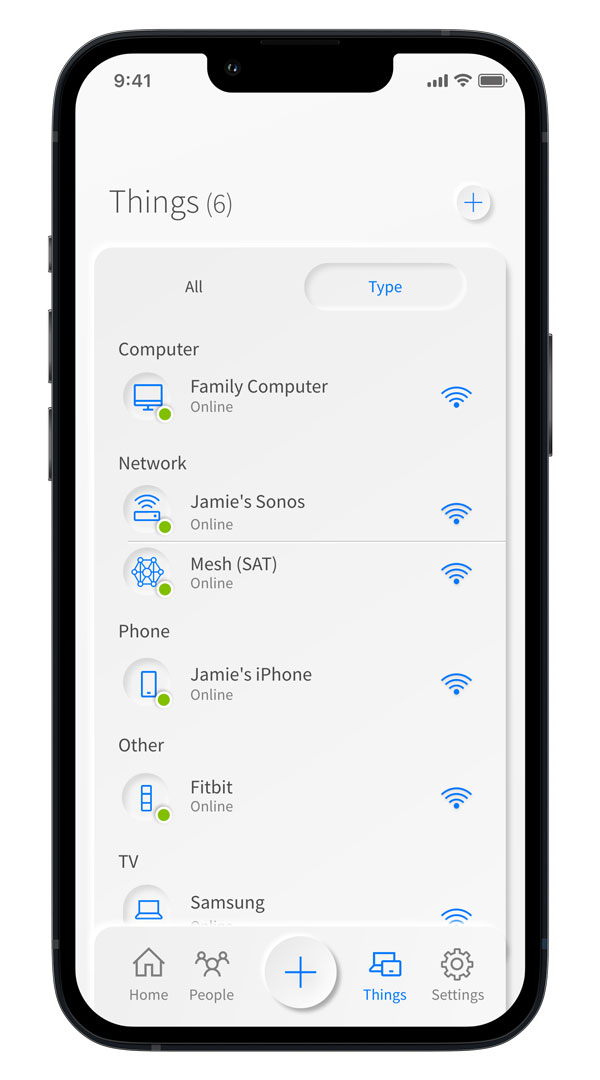
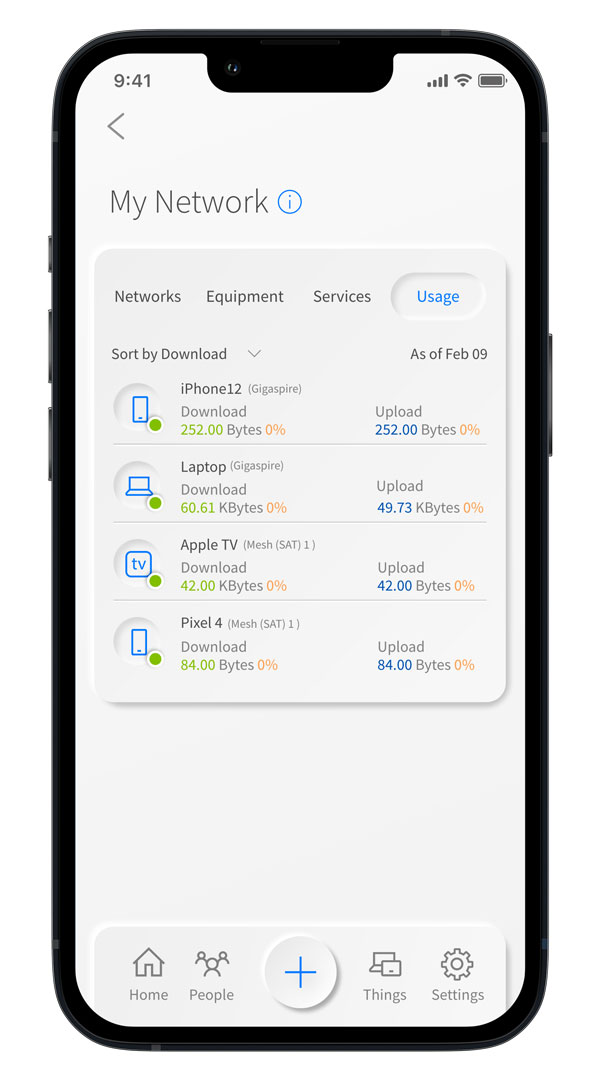
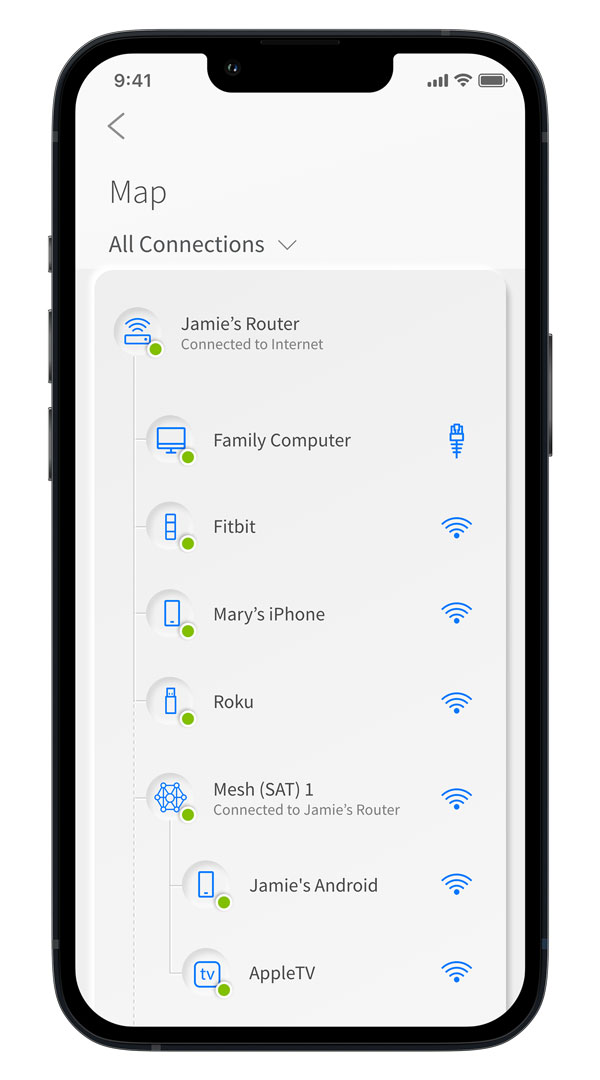
MyNetwork gives you easy access to a snapshot view of your home or small business network. Through the app you can view all the connected devices on your network, set up parental controls or a guest network, change your SSID and password, and more. MyNetwork puts you in charge!

SET UP GUIDE

MyNetwork
One app to rule them all!

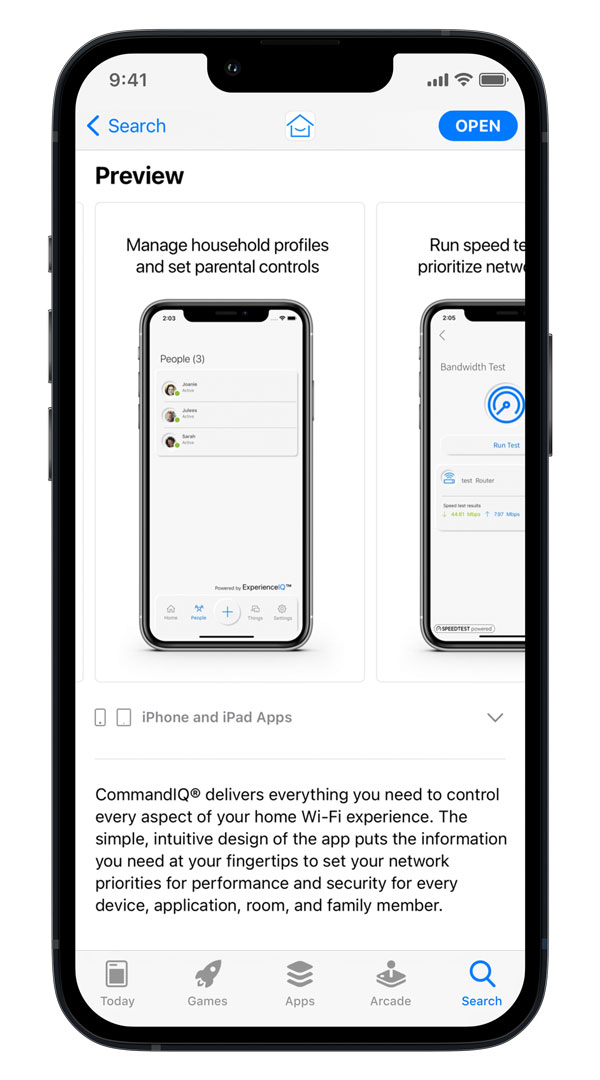
Welcome to the future! The GigaSpire BLAST is the ultimate Wi-Fi system. To begin, download the MyNetwork App from the Apple App Store or the Google Play Store and install onto your phone or tablet.

Before 2
Before 2

SET UP GUIDE

App Set Up
Setting up your app has never been easier!

STEP ONE

Tap "Let's Get Started"

If you forget the password to access your MyNetwork select "Forgot Password?" to reset and access your account.

Before 2
Step 2

STEP 2

Enter Basic Personal Information

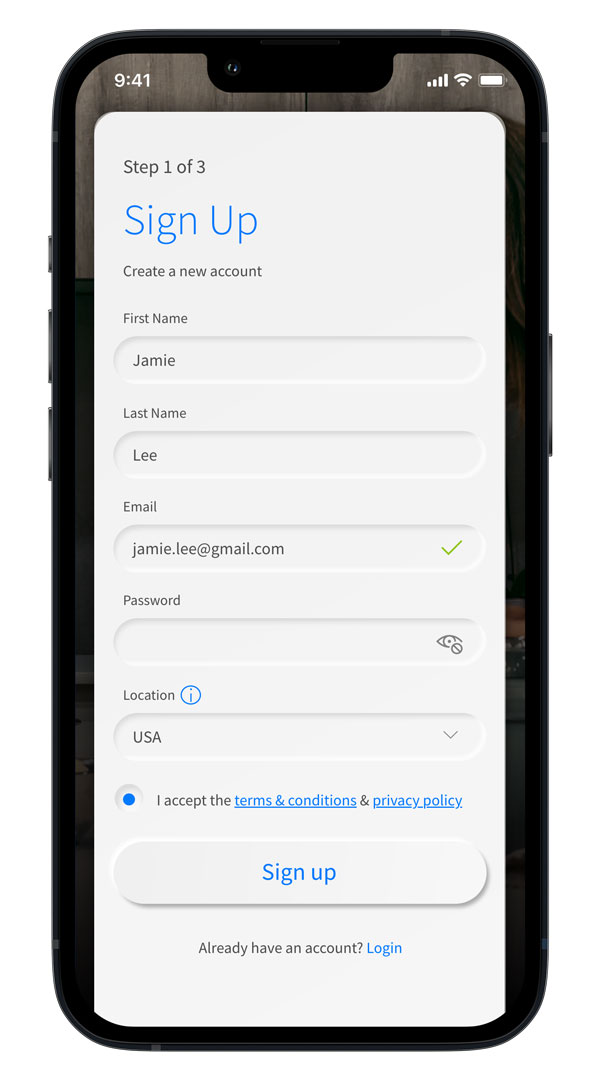
The password you enter here will be the password you use to login to the app.

STEP 3

New System Setup

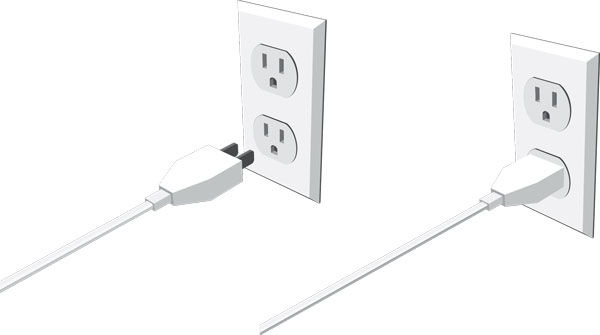
Now, plug your new system into a power outlet. It may take several minutes for the unit to be ready. You'll know once the light turns solid blue.

Step 2
Step 2

STEP 4

Scan the QR Code

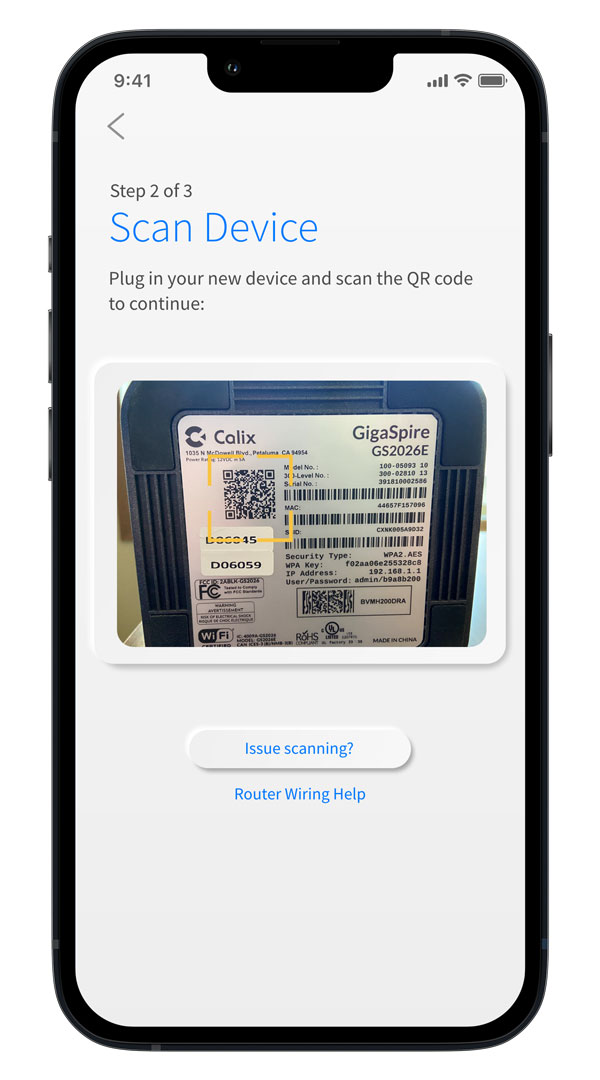
Your system will have a metal plate on the side or bottom. Simply tap the icon and scan the QR code.


Alternately, you can enter the MAC Address and Serial Number also found on that same metal plate.


After you select "Ok", you may be asked to enter your account number.

STEP 5

Name the Network and Create a Password

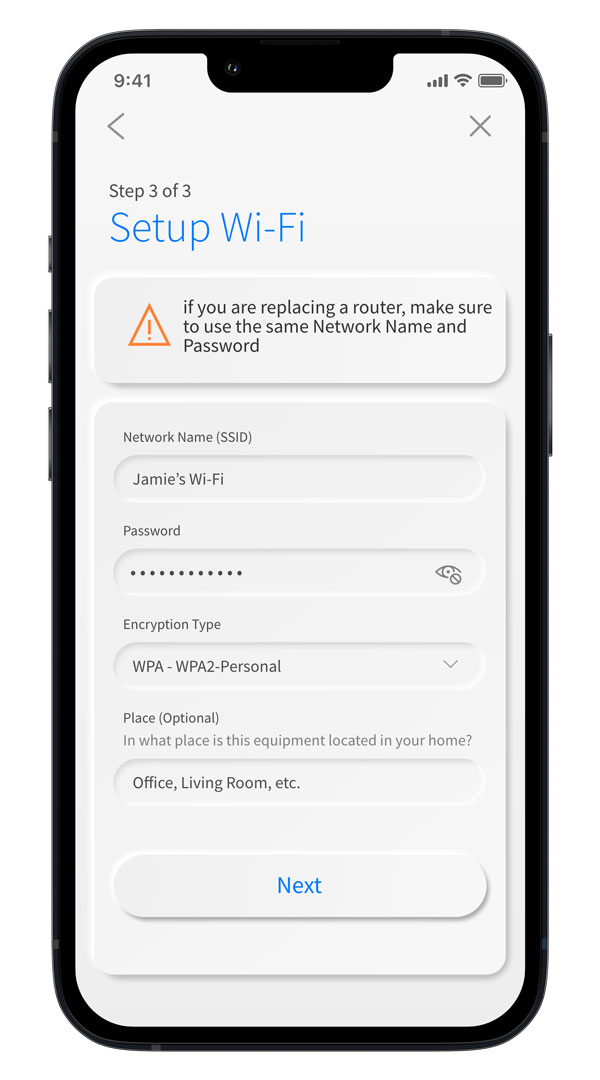
If you are setting up your home network for the first time, you can assign a name and password for your Wi-Fi network.

Step 2


Set-Up Guide

Main Dashboard
This is the home screen you'll see every time you open the app
Step 2
The Dashboard gives you complete control over the devices in your home. The "+" icon at the bottom on the screen allows you to:
  • Create profiles for people and places in your home
  • Connect new devices
  • Set up a guest network
  • And enable new services like Alexa, Network Security powered by ProtectIQ, Portal Controls powered by ExperienceIQ, and more!
The My Network at the top of the dashboard is where you can:
  • Access your Wi-Fi network settings
  • Run a bandwidth test
  • View all connected devices
  • Disable services
  • View device usage
You can also access a list of these connected devices, by selecting "Things" from main dashboard or in the tool bar at the bottom.
Note: If you are using the app on a GigaCenter you will not have access to the bandwidth test.


Set-Up Guide

Settings
A world of customization is available to you
Step 2
Account Name
This will allow you to update the name shown on your app and the login password
Language
Choose your preferred language
Alerts
To receive notifications from the app, leave this in the ON position
Set Passcode
You can set a PIN in lieu of an app login password
Contact Support
Gives you quick access to support contact details
Terms & Conditions
Provides the terms and conditions you acknowledge by using the app
Privacy Policy
Provides the Privacy Policy of the app
About
Provides a brief summary of what the app does
Logout
Provides the ability to log out of the app
Your App Version will show in the about tab.


Set-Up Guide

The + button
The plus feature quickly takes you into the key features of the app
Step 2
People
Connect your Things (devices) with people in your home network. This allows you to set parental controls, content filters, time limits and so much more
Places
Places are a great way to tailor your Wi-Fi to devices connecting to a specific area in your home like an office, media room, patio or game room. This allows you to optimize your Wi-Fi performance by being able to pause Internet access to devices in locations that don't need to be on
Things
You can easily find your network details here to connect a new device to your Wi-Fi
Network
Add a guest network at anytime and keep your main Wi-Fi network and data safe while you have guests over. You can set a duration and even text the Wi-Fi network name and password to your visitors
Mesh (SAT) * Access Point
Extend the reach of your Wi-Fi network by connecting a new mesh * Access Point
Service
Use this screen to enable additional services if they were not already enabled by Consolidated ExperienceIQ: Parental Control (Enhanced) Provides the ability to set profiles, assign devices, schedule offline time, add content filters, app filters and website filters, and view profile usage ProtectIQ: Network Security Provides network level protection against malware, viruses, etc.


Set-Up Guide

Parental Control (basic)
Step 2
To create a parental control profile:
  • 1. From the home screen, select the "+" symbol and select "People" to create a new profile
  • 2. Enter the name for the profile in the box and select the devices you would like to add to this profile
  • 3. Select "Done" (at the top of the screen)
Once the profile is created you can do the following:
  • Tap "Edit" in the profile and add a picture if desired
  • Swipe the Internet Access toggle off to pause all devices connected to this profile
  • Set time limit schedules to turn Internet access off for all devices in a profile during specific times and days
  • To bring devices back online swipe the toggle back on
  • Tap "Edit" and "Add" to add more devices to this profile
  • Tap the red minus icon to remove devices from this profile
Note: If a device has the MyNetwork App, do not add it to a profile, as you may inadvertently cut off your access to these controls. If this happens, switch to mobile data to restart the profile with your app device.


Set-Up Guide

Guest Network
Creating a guest network has never been easier!
Step 2
When you tap the " + " icon from the main menu you will have the option to create a guest network by selecting Networks.
In the Add Network screen, do the following:
  • 1. Set the name of the wireless guest network as you want it to appear for your guests
  • 2. In the drop down box, you can choose to set a password for this guest network, which is highly recommended to keep your network safe
  • 3. This will bring up additional boxes for you to set and confirm your password
  • 4. If you set this network to Endless, it will stay available
  • 5. The alternative is to set a Start and End time for this guest login to be valid
  • 6. Once you have set the parameters for your guest network, select "Done" at the top of the screen
  • 7. Press "Done" to complete setup. You have the option to share your new network with your guests via text, email or other messaging service
  • 8. To edit your guest network, select "My Network" from the home screen. Select "Networks" and select the network you wish to edit or delete


Set-Up Guide

Device List
Creating and managing a list of devices is as easy as 1-2-3
Step 2
Things allows you to see the devices connected to your network. Tap on a device to see additional details including:
  • 1. Device name
  • 2. Signal strength
  • 3. Internet usage


Set-Up Guide

Device Details
Manage all your devices
iphone13_bandwidth-results
The Device details screen will show the device name at the top of the screen followed by a chart that indicates the amount of data that was used by the device over a period of time.
By tapping into the edit function in the upper right hand corner, you can rename the device to something easier for you to identify.
You can also change the category for this device by selecting the drop down button found within "Additional Details."
Data usage shows data used by this specific device. The bottom box shows additional connection details for this device.
By toggling the On/Off button in the Internet Access section you can turn off or on Wi-Fi for this device.
Network Security, powered by ExperienceIQ, allows you to prioritize traffic and devices on your network.


Set-Up Guide

Network Usage
Keep track and monitor the usage for each device
iphone13_bandwidth-results
Network Usage is organized by device.

From this view, you can see basic information about usage from each Wi-Fi connected device on your network, including:
  • 1. Device identification and whether the device is connected to Wi-Fi
  • 2. What network device it is connected to
  • 3. Network usage
  • 4. The amount of data that has been used by this device
Network usage is updated each time you run a bandwidth test through the app.
Note: This feature is only available with a GigaSpire BLAST.


Set-Up Guide

Network Map
iphone13_bandwidth-results
From the dashboard you can select "My Network". This will show any GigaCenter, GigaSpire BLAST, or GigaMesh units connected in your network. Next tap into your Wi-Fi network from the Networks tab. From here, tap into the "Map" section to view devices connected to your system. You can tap on the Mesh icon to get performance information and devices connected at that Mesh unit.


Set-Up Guide

Speed Test
Internet bandwidth test
iphone13_bandwidth-results
The easiest way to run a bandwidth test is by tapping into "My Network" and then "Bandwidth Test" icon. Then simply tap the Run Test button.
The speed test will first run between the GigaSpire BLAST and the Internet and then will conduct a speed test between any mesh units and the GigaSpire BLAST. Results will show as a notification and update at this location.


Set-Up Guide

Enable and Disable Applications
iphone13_bandwidth-results
When you select the "+" icon from the dashboard and then tap into "Services", you will see a list of applications that are eligible for download into your MyNetwork app.
Select an item and simply follow the instructions to add the functionality.
Conversely, when you select Disable Application, you will see a list of applications that are currently running on your app that you can disable. Select an item that you would like to disable and simply follow the instructions to remove the functionality.
Contact Consolidated for more details on the applications that are available to be added in the app.
Note: This feature is only available with a GigaSpire BLAST. Alexa is not available with all models.


Set-Up Guide

ExperienceIQ: Enhanced Parental Control
enhanced parental control
If you subscribe to Enhanced Parental Controls powered by ExperienceIQ from Consolidated you'll have additional functionality to help manage access to the Internet within your home.
Start by selecting the + icon from the home dashboard and then tapping into the People section. Next create a profile. You'll be able to assign a name to the profile and assign the devices you want attached to this profile. You can also select the photo icon to add a picture to represent this profile. After selecting "Done" those devices selected are now assigned to the profile you have created. You can remove a device by select Edit, and then selecting the "-" sign next to the device.
If you want to manually pause all devices assigned to this profile, toggle the Internet Access button to OFF. Select "Time Limits" to set time limits for all devices connected to the profile.
Restrictions allow you to restrict access to specific content, applications and websites and enable Safe Search and YouTube restrictions.
Parental controls work while devices are connected to Wi-Fi.
Note: If a device has the app, do not add it to a profile, as you may inadvertently cut off your access to these controls. If this happens, switch to mobile data, to restart the profile with your app device.


Set-Up Guide

Enhanced Parental Controls powered by
ExperienceIQ: My Priorities
Activity and Device Prioritization
enhanced parental control
From any profile or the Things tab, tap into a device to access Network Priority to view activity and device prioritization settings.
By default, activity priorities on the Wi-Fi network are organized according to a combination of common activities. You can prioritize the activities by ordering them from top to bottom with the most important activities on top. Once set, My Priorities will do all the work to prioritize traffic to your activities.
You can schedule an alternative activity list during certain times and days of the week. Up to three different schedules are supported.
Prefer to prioritize by device regardless of what activity those devices are performing? By tapping Devices, you can select up to 5 devices to prioritize over all others on the Wi-Fi. You can even set a timer to reset the priority once the time is expired. For example, if you want to use your Sonos surround sound while you stream Netflix on your smart TV for family movie night, you can set priority to just those devices.
Device priorities can also be made permanent. Device priorities work in conjunction with the activity priorities and share the fastest network traffic queue. This means you get the most bandwidth and lowest latency on the devices and activities you set.


Set-Up Guide

ProtectIQ: Network Security
enhanced parental control
If you subscribe to ProtectIQ Network Security from Consolidated it is working quietly in the background on your GigaSpire BLAST to provide an extra layer of protection against malicious traffic.
Data coming into your network will be scanned for viruses and other malicious content and you will receive a notification if content was blocked for some reason. This will show as a notification within the ProtectIQ main menu item in your app.
No action is needed when you receive an alert. These threats are automatically blocked from entering your network.
To view your security status, select "My Network" from the dashboard. Select "Networks" and your home network. On the Security tab, you will see the last update.
Select "Security" to view the latest results. You can also select Options including:
  • Trusted List shows items you have selected as trusted in your notifications screen.
  • Skipped Devices allows you to select devices that will be skipped during security scans.
  • Intrusion Settings allow you to enable an added layer of protection. Enable both options for the ultimate protection.
  • Additional Details provides additional information including packets analyzed and the total number of threats detected and blocked.
Note: Do not remove device level protection for anti-virus and malware.


watchTVeverywhere

Over 100 Channels available on tablets, mobile devices, or on a computer. FREE with your Consolidated TV account. Signing up is easy, just have your Consolidated account number along with the last name on the statement to get started!

  • 1. Go to www.consolidatednd.com/wtve

  • 2. Select Consolidated from the drop down box of TV providers

  • 3. To Register see Register or Login instructions

    Register Instructions

  • 1. Enter your account number. Can be found on the upper right hand corner of your Consolidated bill, or you can contact our office 701-483-4000 or 1-888-225-5282

  • 2. Enter the Last Name that appears on your statement/account

  • 3. Complete New User Information

  • 4. Check I'm not a robot box

  • 5. Click Submit

    Login Instructions

  • 1. Click on Login

  • 2. Enter Email

  • 3. Enter Password

  • 4. Click on Login

INTERNET • PHONE • TV


Business Solutions

Computers
Servers
Phone Systems
Video Surveillance Systems